The painting process step by step
Choose the right tools
A roller is not one-size-fits-all.
- 9 mm nap (approx. 3/8”) → for most smooth walls
- 6 mm nap (1/4”) → for very smooth or glossy surfaces
- 12–18 mm nap (1/2”–3/4”) → for rougher or textured surfaces
Before you start, wash and dry the new roller to remove any lint.
You will also need:
- Paint tray
- Extension pole (saves your back and shoulders)
- Ladder
- Angled brush approx. 6–6.5 cm (2½”)
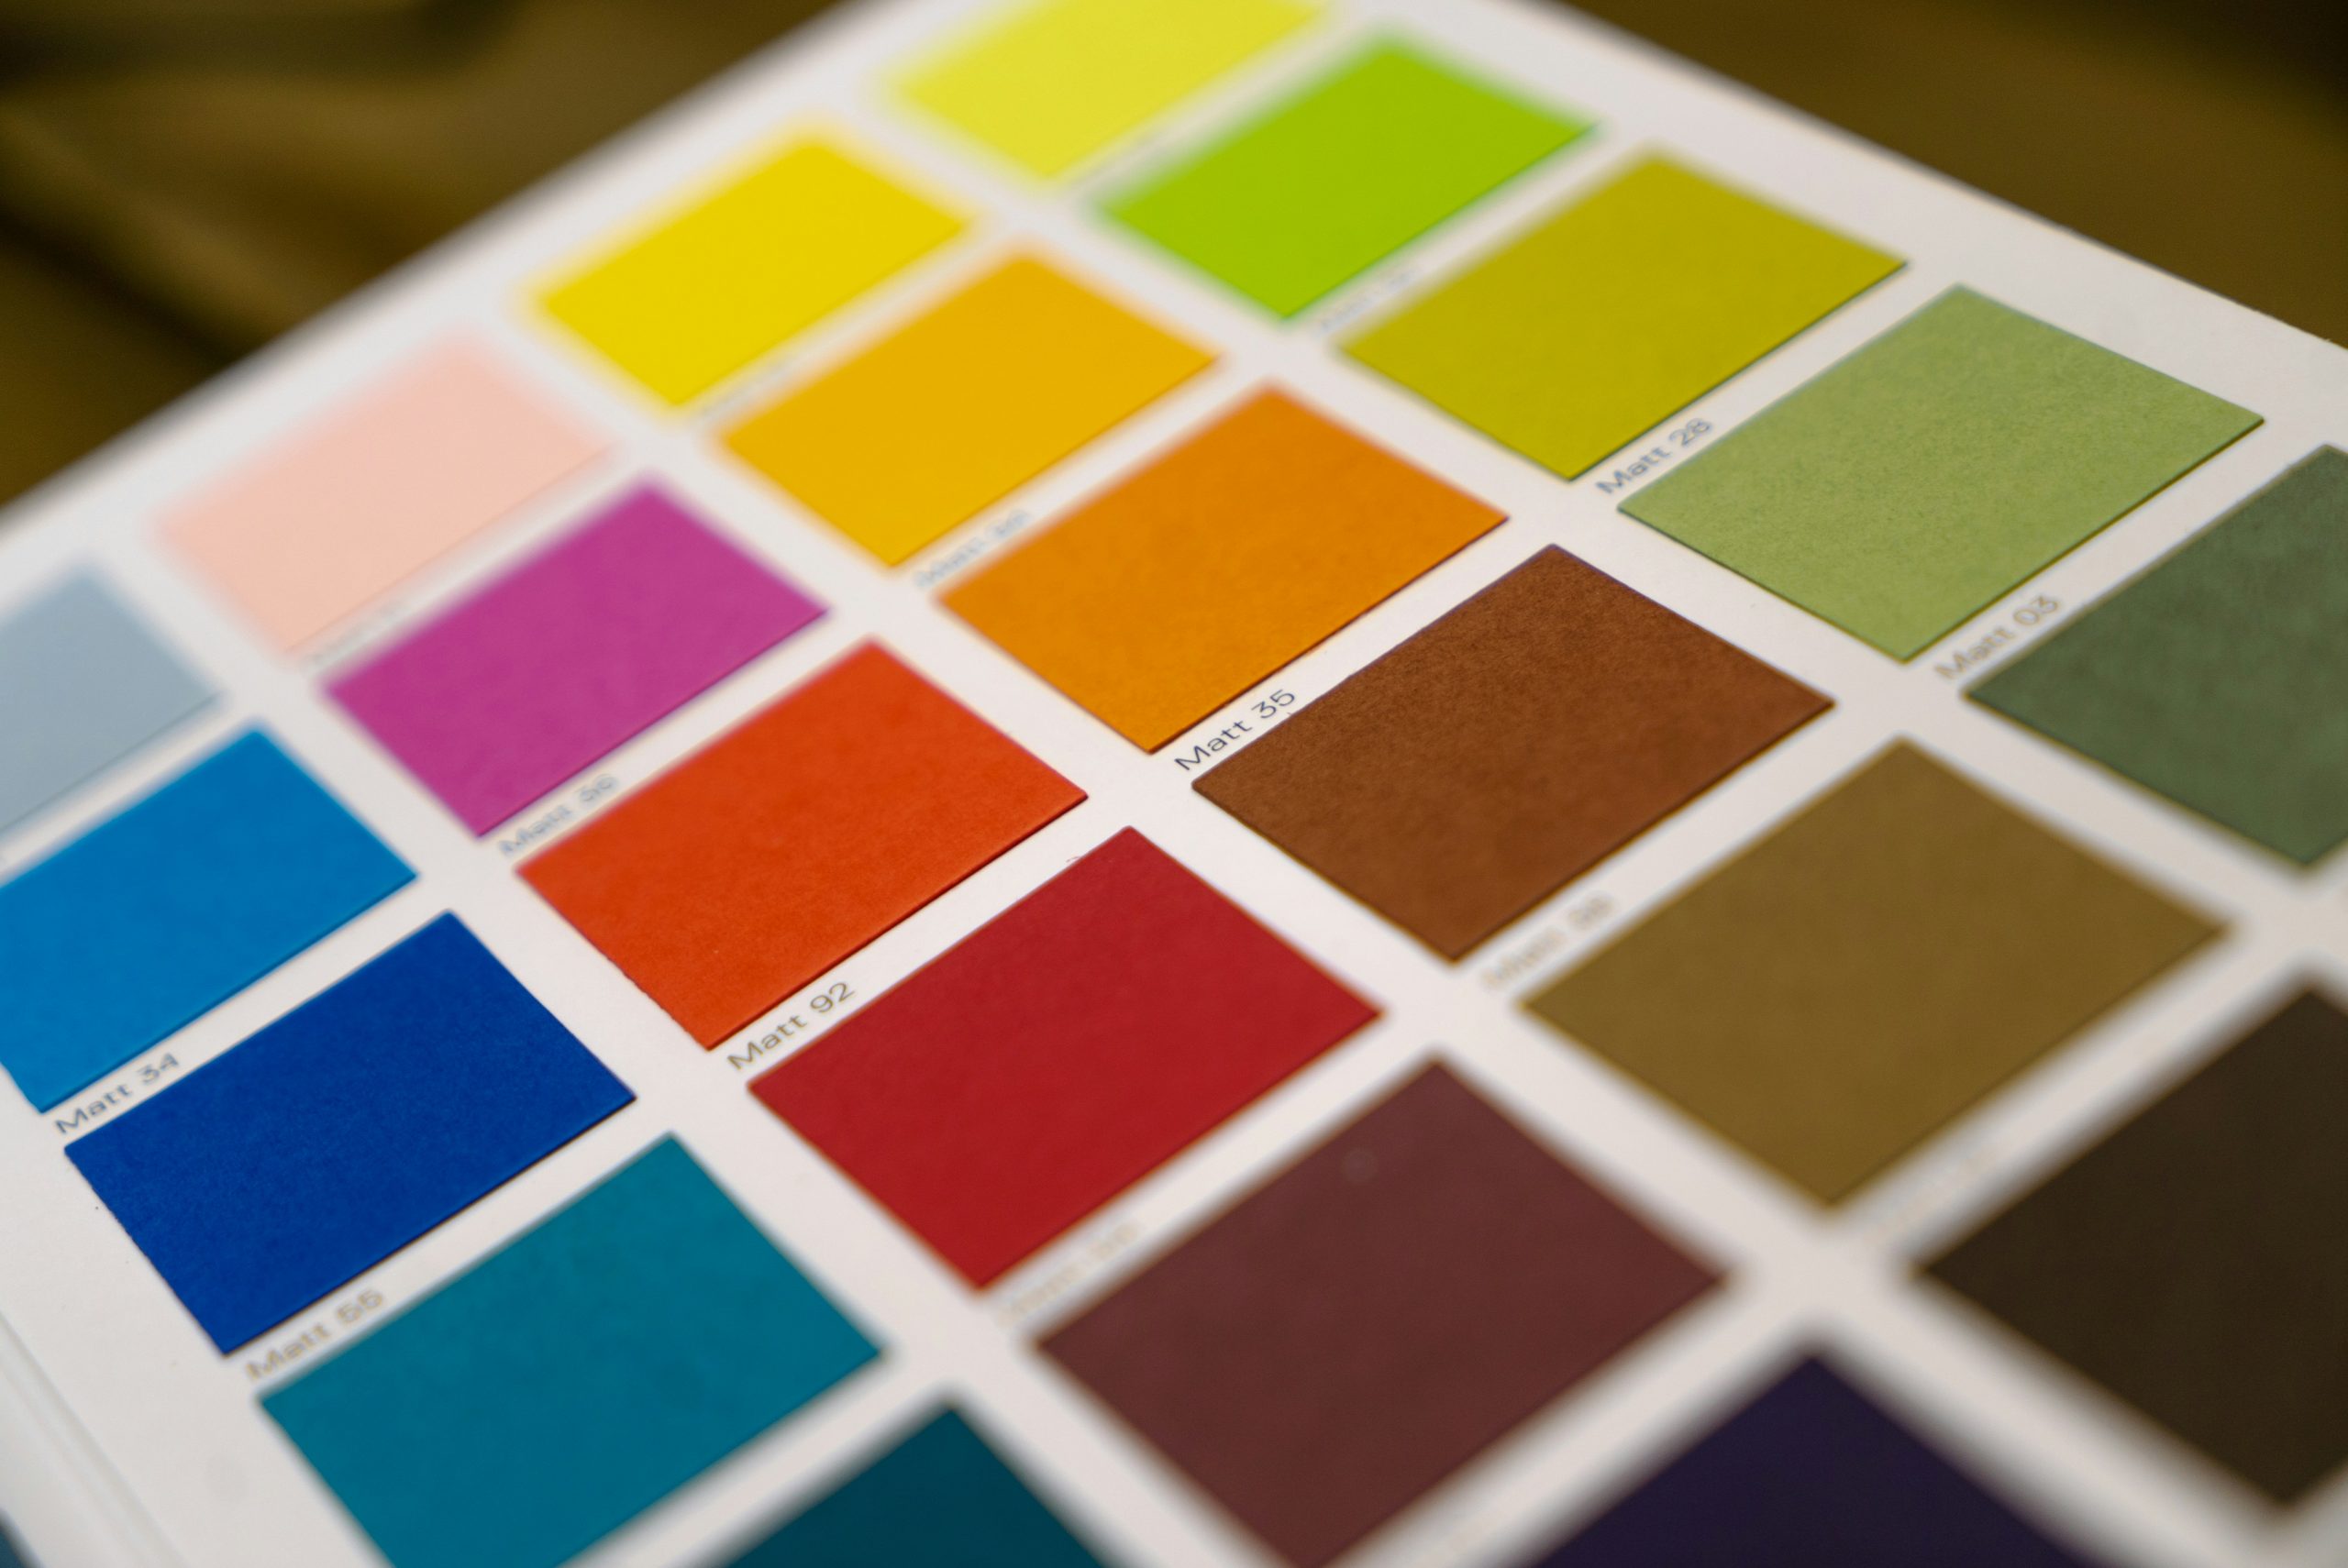
And of course a top-quality paint such as Superpal Classic by VERNILAC, suitable for interior use.
Prepare the wall properly
This is where 80% of the result is determined.
- Clean the wall with a sponge and lukewarm water
- Completely remove any mold or stains
- Fill where needed and sand lightly
- Apply primer — especially if changing to a drastically different color or if the wall is absorbent
“Cut in” the details first
Before using the roller, use the brush to paint:
- Corners
- Around the ceiling edges
- Door and window frames
- Sockets, switches and skirting boards
This process is called “cutting in” and allows you to work more comfortably with the roller afterward, without risking the edges.
Use the roller correctly
Pour paint into the tray and roll the roller over the textured area.
Do not dip it entirely into the paint. You want it evenly loaded, not dripping.
Start painting with a system
- Work from top to bottom.
- Overlap each new strip by 8–10 cm
- Do not press too hard. Let the roller and paint do the work
Excessive pressure creates lines and runs.
Avoid lines and “patchiness”
Work in manageable sections — not the entire wall at once.
The goal is to maintain a “wet edge”: apply fresh paint into still-wet areas so it blends evenly.
Each time you reload the roller, start on an unpainted area and roll back into the previous section.
The extension pole should allow you to reach from top to bottom comfortably without stretching.
Let it dry. Then repeat.
For proper coverage and color performance, allow at least two coats..
- Wait for the drying time indicated on the Superpal Classic container.
- Do not rush the second coat if the surface has not fully dried.
- Allow the final result to “cure” before reinstalling sockets, frames and decorative elements.
Discover Vernilac’s Specialized Tools
Visualizer
See the color that suits you in real spaces.
Calculator
How many liters do you need?
Tip Vernilac
Applying with steady pressure prevents lines and “runs”.
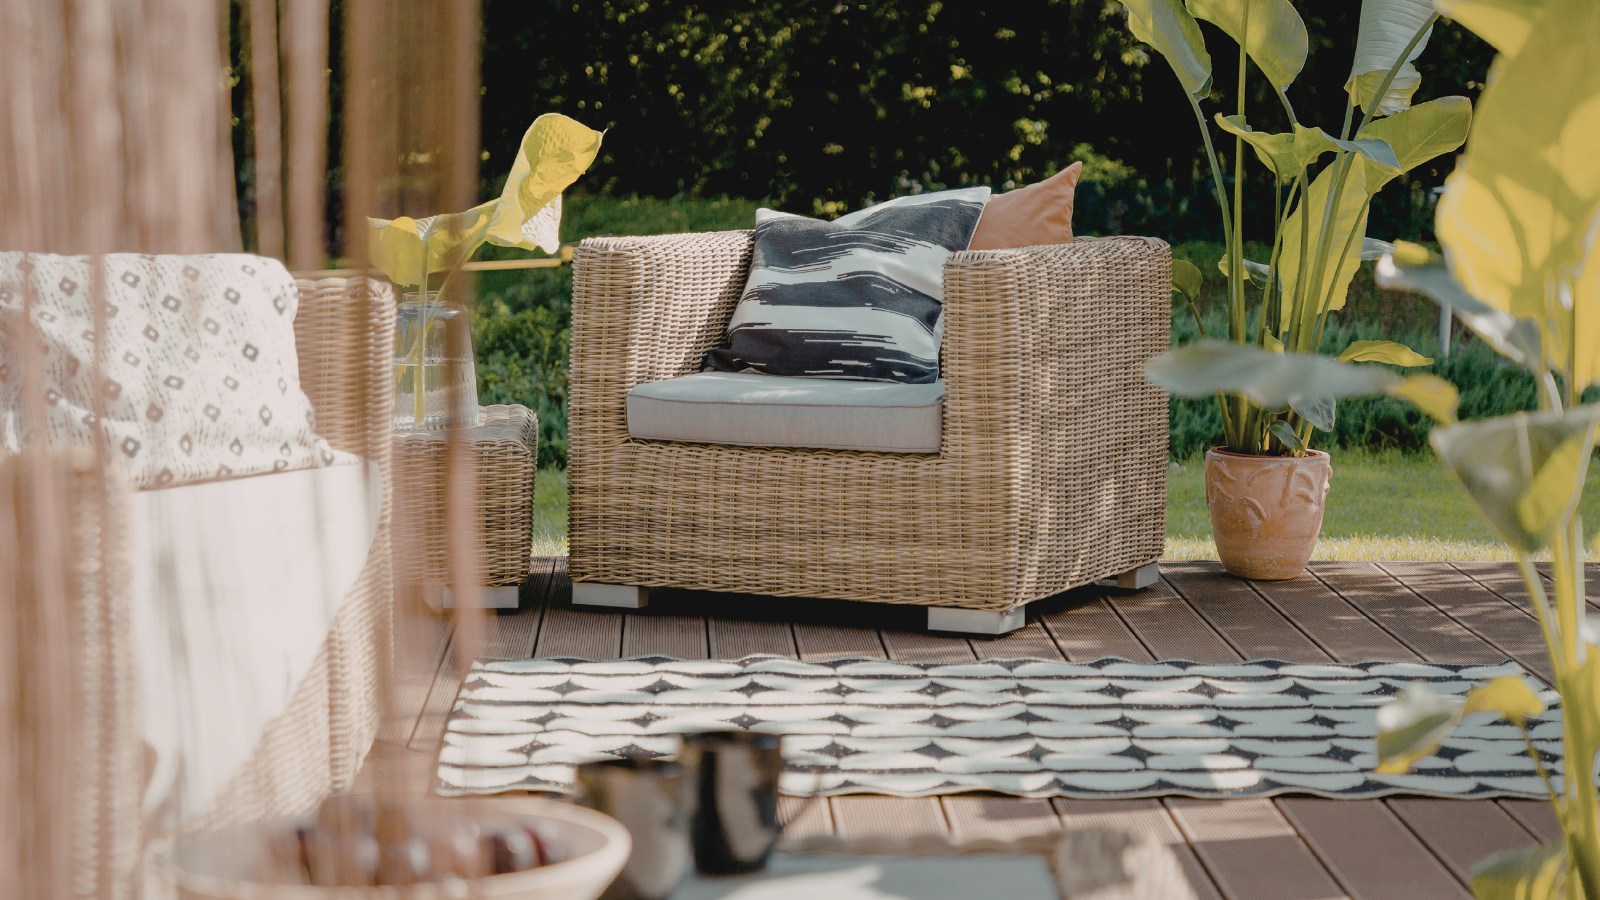
Inspiration
Inspiration for every space
Discover ideas and color combinations for every room in your home. From the kitchen to the bedroom, find the perfect inspiration for your own project.