How to paint the ceiling properly
Ceiling painting is often considered a demanding task. In practice, however, with proper preparation, suitable tools and a methodical approach, you can achieve a flawless and uniform result. The ceiling is an essential element of a space’s aesthetics. When properly painted, it enhances brightness, the sense of cleanliness and the overall harmony of the room.
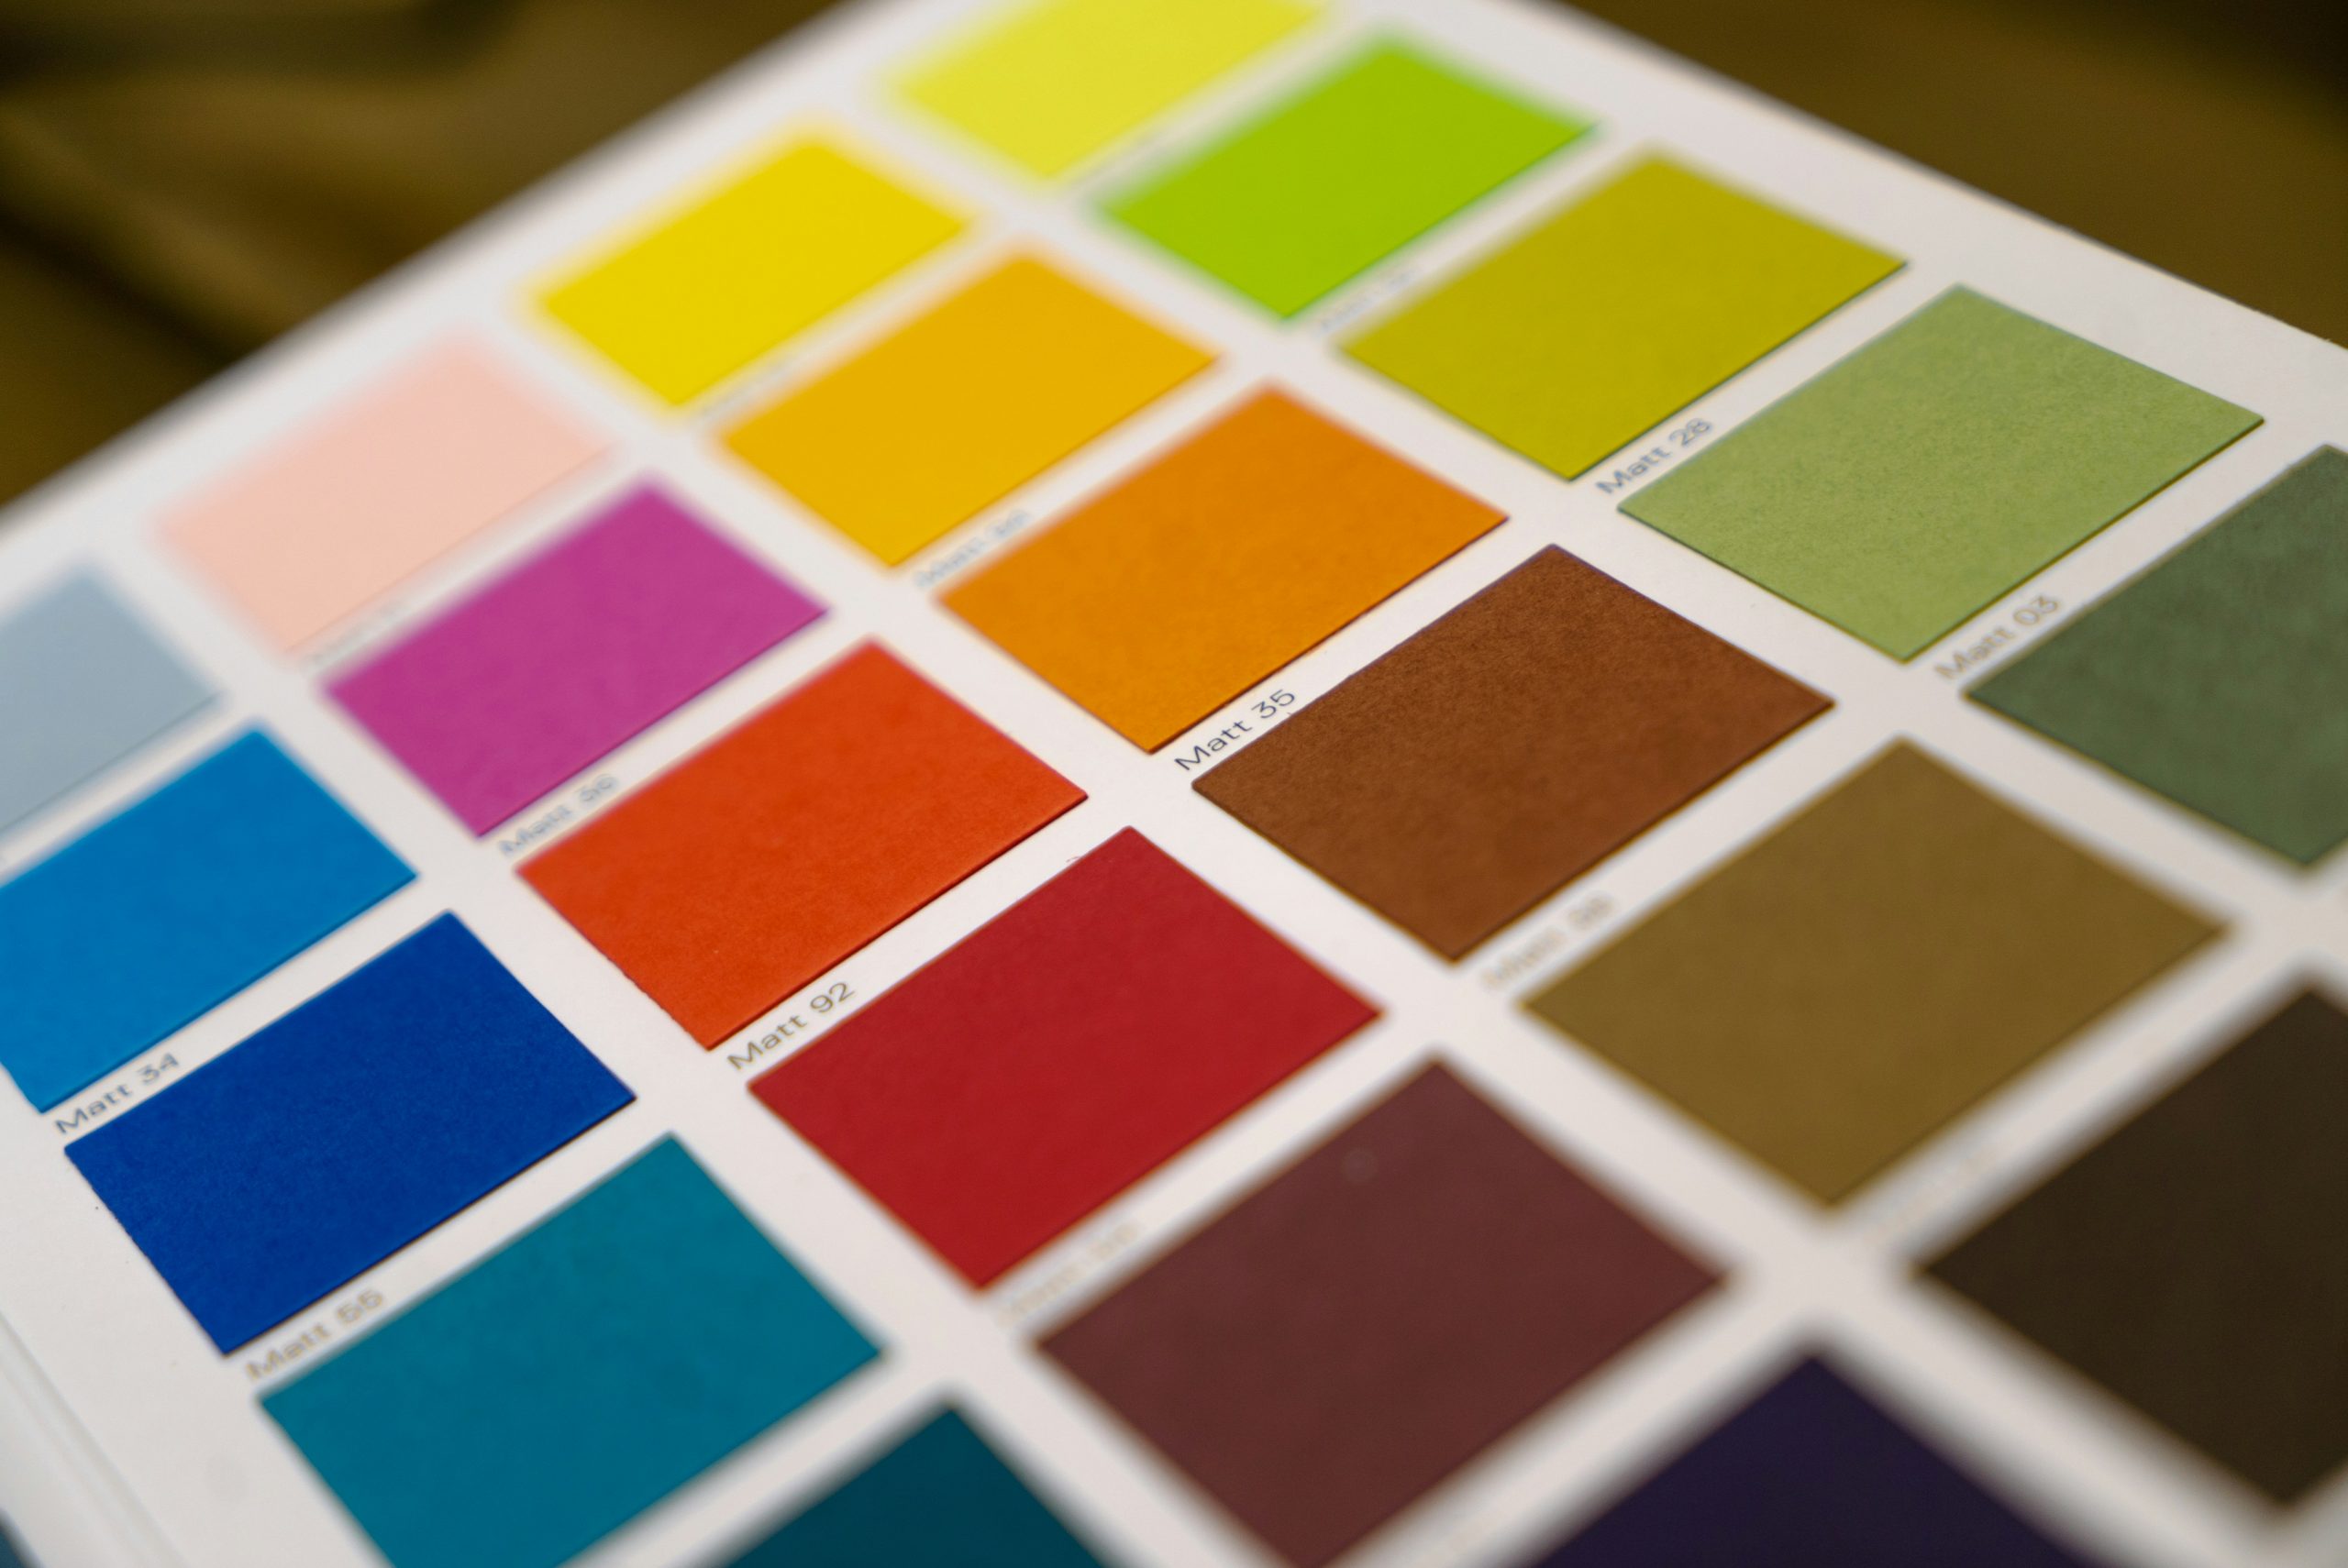
Choosing the right shade
White remains the most common choice, as it reflects light and creates a sense of cleanliness. However, it is not the only option.
- A slightly lighter shade than the wall color can add subtle depth
- In spaces with sufficient natural light, even bolder shades can create a distinctive atmosphere
When selecting a color, consider:
- The amount and direction of natural light
- The style and color palette of the space
For better concealment of minor imperfections, a matte ceiling paint is recommended.
Essential tools
For proper application, you will need:
- Angled brush 6–6.5 cm
- Masking tape
- 23 cm roller
- Paint tray
- Extension pole
- Ladder
- High-quality matte paint suitable for ceilings
Choose a roller with the appropriate nap:
- 9–12 mm for smooth surfaces
- 15–18 mm for slightly textured surfaces
The quality of the tools significantly affects the final result.
Preparing the space
The correct sequence of work is crucial. The ceiling is always painted before the walls.
- Cover floors and furniture with protective sheets
- Remove or protect light fixtures where possible
- Ensure adequate ventilation, avoiding strong air drafts
Painting process
Perimeter application
Start by using the brush to paint the line where the ceiling meets the wall.
- If the walls will also be painted, extend 5–7 cm onto them for better blending
- If the walls will not be painted, protect them with masking tape and create a clean, straight edge
Roller application
Start from a corner and work towards a window, so natural light helps you identify any imperfections.
- Apply paint in parallel strips
- Overlap each new strip by 8–10 cm
- Apply light and steady pressure
Avoid excessive pressure, as it may cause marks or splashes
The “wet on wet” rule
For a uniform finish, each new application should blend into a still-wet surface—wet roller on wet ceiling. Work in continuous sections without long pauses to avoid visible joints. Ideally, the ceiling should be completed in one continuous session.
Second coat
In most cases, two coats are required for proper coverage.
- Allow the first coat to dry completely, according to the time indicated on the packaging
- Check the uniformity of the result before proceeding with the second coat
If using VERNILAC 1&GO, one coat is sufficient. After full curing, reinstall lighting fixtures and other elements.
Conclusion
Ceiling painting is not a particularly complex process, but it requires attention, proper preparation and adherence to basic application rules. With a methodical approach and quality materials, you can achieve an excellent result that will enhance your space for a long time.
Discover Vernilac’s Specialized Tools
Visualizer
See the color that suits you in real spaces.
Calculator
How many liters do you need?
Tip Vernilac
Start from the light — you will spot every imperfection before it becomes a problem.
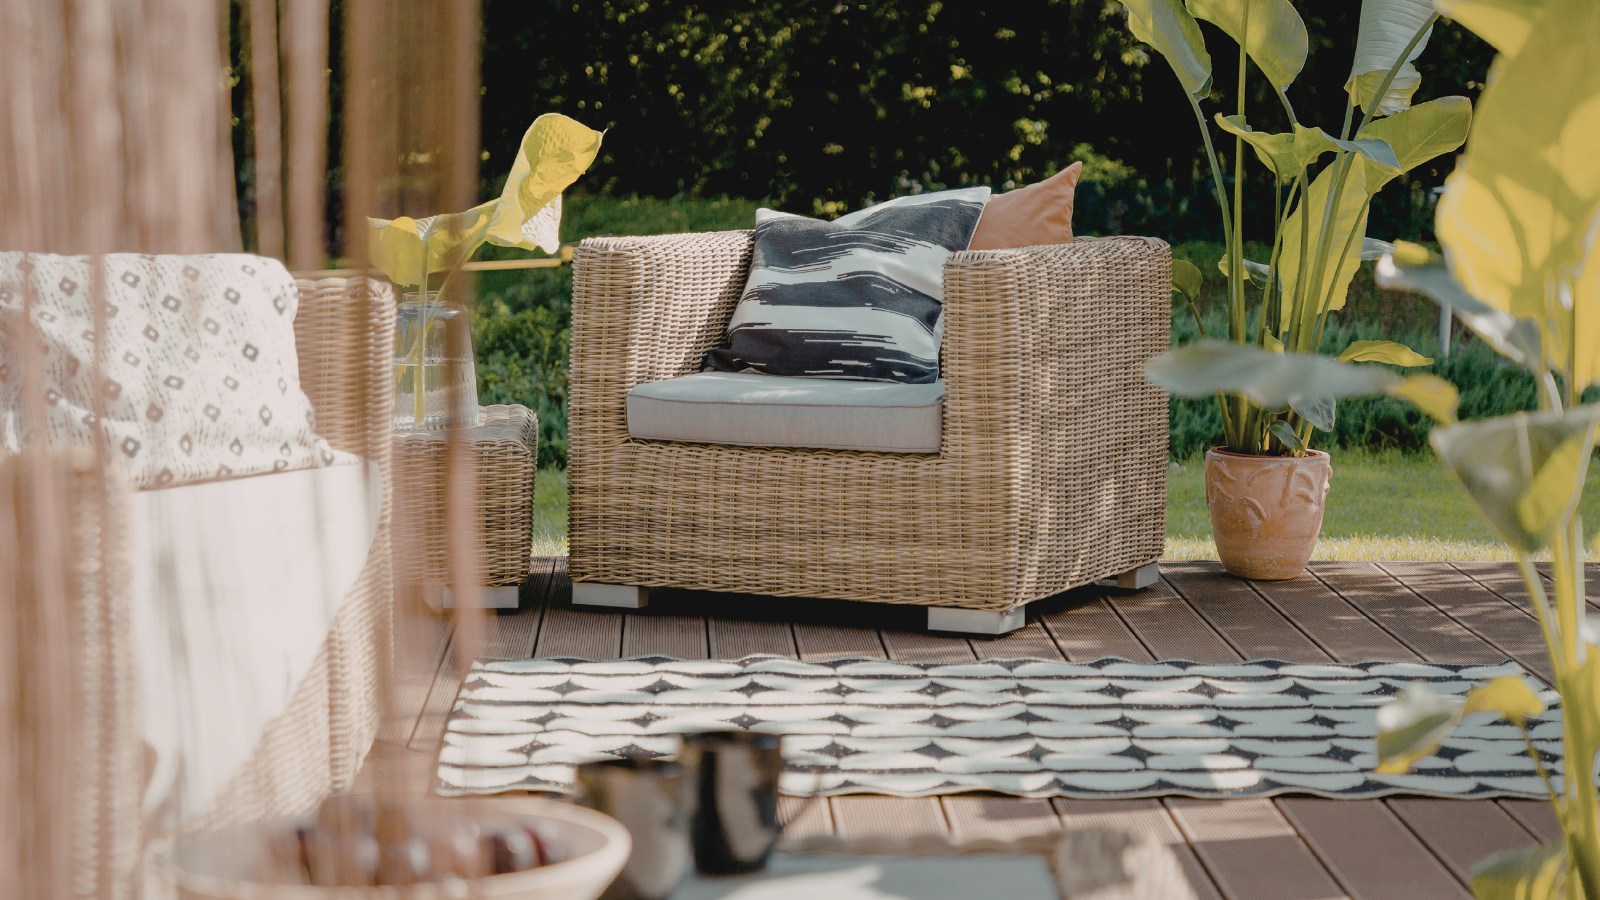
Inspiration
Inspiration for every space
Discover ideas and color combinations for every room in your home. From the kitchen to the bedroom, find the perfect inspiration for your own project.